Start here · 5 min read
Onboard in 15 minutes — walk through with real screens
Sign in, set up your computer to run jobs, run the seeded weekly status workflow, open Reports.
This is the path we use ourselves. Each step names the real screen and what you should see.
1. Sign in
- Open /login — use Google or email
- What you should see: Home with an onboarding checklist (Add Mac as worker → Create workflow → Send first task)
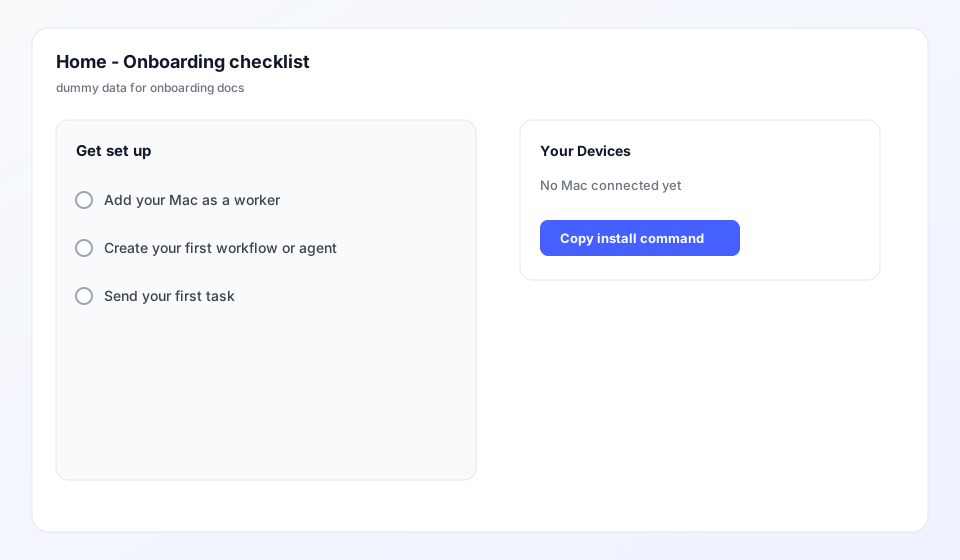
2. Set up your computer to run workflows
- Home → Your setup — copy the install command and run it on the computer
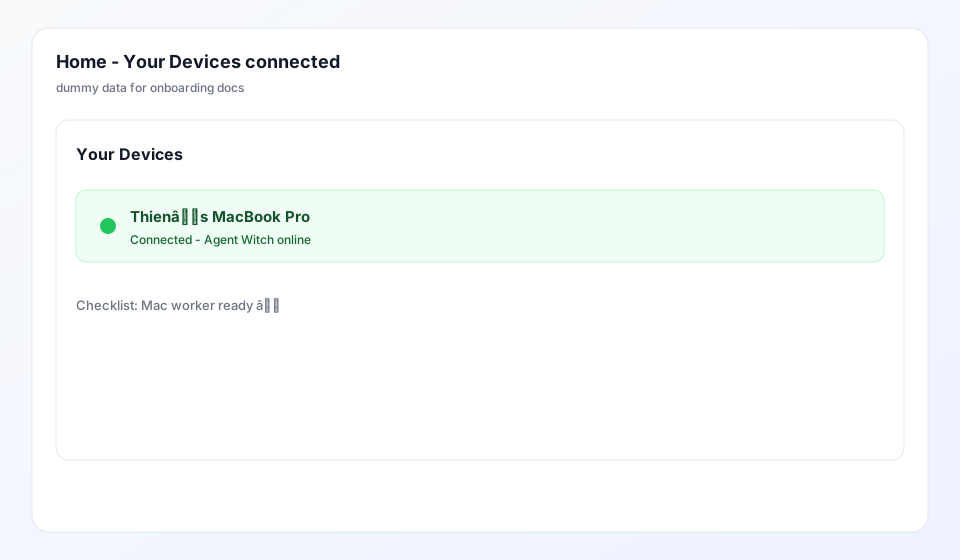
- What you should see: Your Devices lists the computer as ready to run jobs
- If send stays disabled later, check that the computer is awake and the browser is connected
3. Open the weekly status workflow
- Library — look for "Weekly status update"
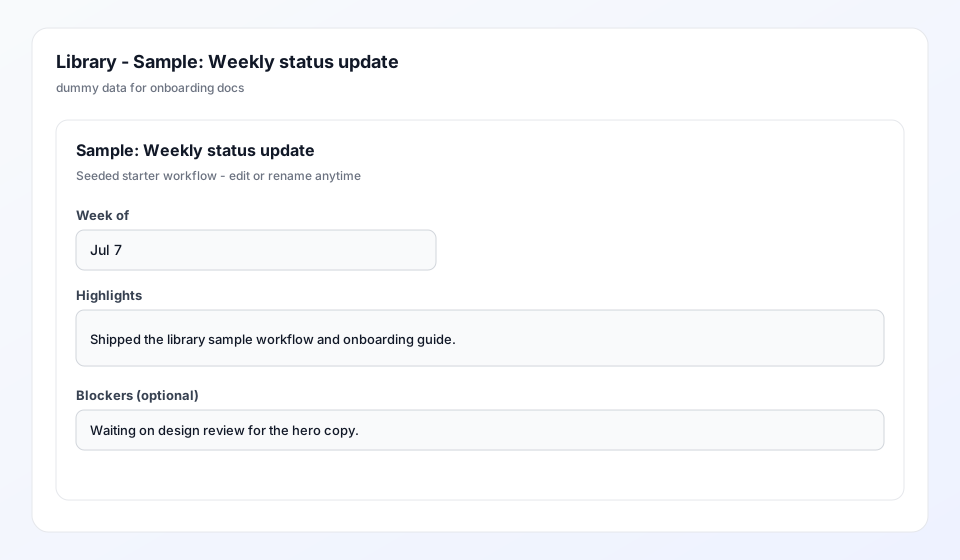
- What you should see: fields Week of, Highlights, Blockers (optional)
4. Fill practice details (safe to paste)
- Week of: Jul 7
- Highlights: Shipped the library weekly status workflow and onboarding guide.
- Blockers: Waiting on design review for the hero copy.
- Use playbook → send to your computer (or Copy prompt if you only want to inspect the assembled text)
5. Confirm in Reports
- Reports — find the run you just sent
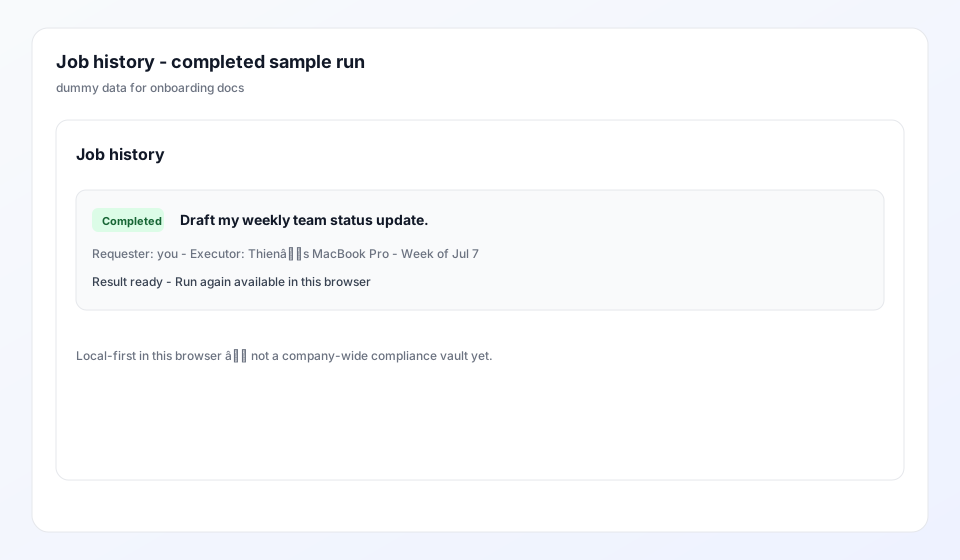
- What you should see: prompt, status, and output when the computer finishes
- Tip: history stays in this browser — use the same browser next Monday for Run again
Done when
Checklist shows Mac worker setup and Send first task complete, Library still has the weekly status playbook (or your renamed copy), and Reports shows one completed run. That is enough trust proof before inviting teammates.